
Do this project on a day you have ALOT of patience!! I LOVE the Magnolia inspired bakery signs but of course I always think to myself "Oh, I can do that cheaper..." Well this was no different, it was cheap but not easy!!
Supplies-
Wood (mine is pine 48X9 1/2 its just what I had you could use any size!)
Stain (I used jacobean)
white paint
BAKERY letters (modern no 20 at a 700 font size)
pencil
Black acrylic paint
small paint brush
sanding block
Directions-
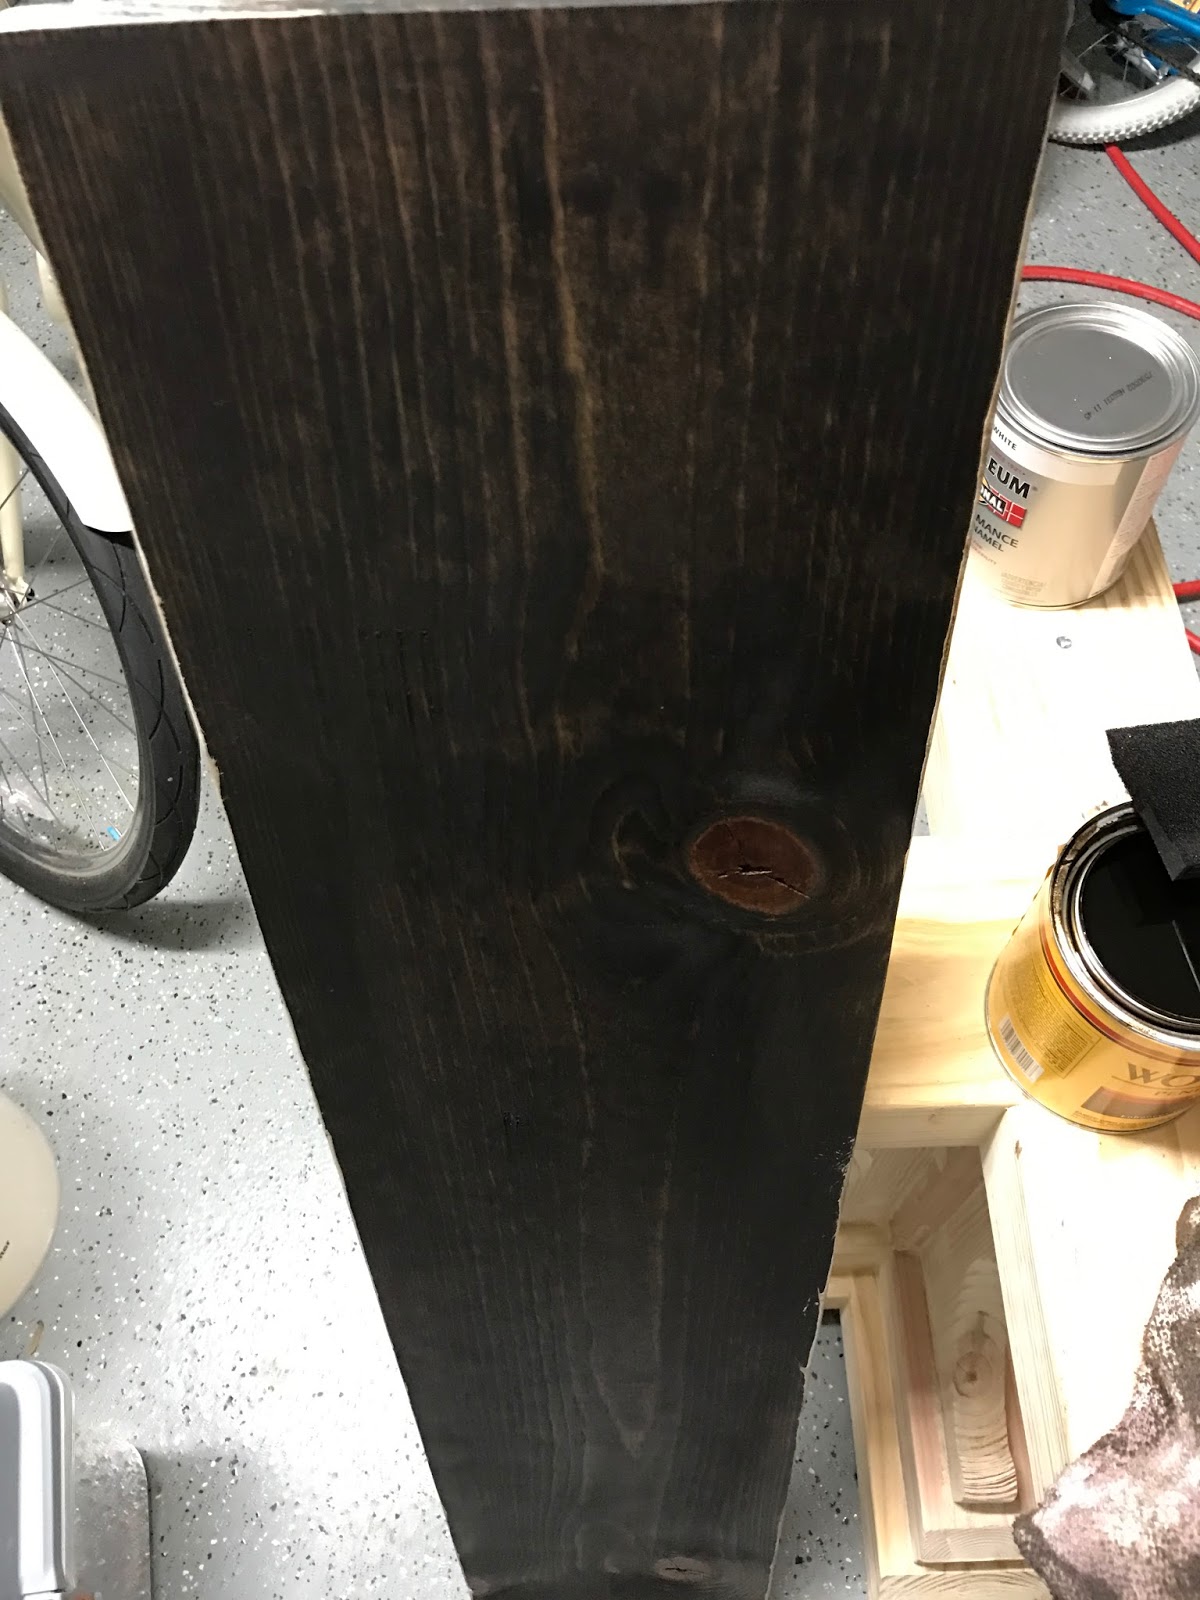
1. stain your wood, I used the dark stain so when I sanded off the white paint it showed the dark underneath. Make sure you let this stain dry...like for a day before you paint.
2. paint over your stain with white paint, let dry..completely!!
3. cut out your letters completely, I found this way works the best. I did try another way of just tracing the letters and making an indention in the wood but that makes it harder to paint.
4. place your letters onto the wood making sure its all spaced out evenly and centered. I used some painters tape on the back to hold the letters into place.
5. Trace the letters around the edge, then take off the letters and your left with some coloring to do :)
6. using a small, fine paintbrush fill in all the letters black...this is where it gets hard but be patient because it looks fine once your done!
7. let the black paint dry completely then sand all over...even on the letters you just spent so much time painting!! I promise it'll look better once you've roughed it up a bit!
8.Enjoy your new BAKERY sign!


Hopefully you have more patience then me with this project :)

ENJOY!!!
No comments:
Post a Comment