Monday, February 27, 2017

Framed Shiplap


Two words... FRAMED SHIPLAP!! This is probably my favorite DIY to date...actually, no it IS my favorite DIY! I just couldn't commit to doing an entire wall shiplap, I know I'd love it but its just so..permanent! So I headed to hobby lobby to see what I could do to make this happen. I went to the clearance section because they always have frames deeply marked down. I found a frame and had sticker shock at the price it used to be and now was...$175.50 down to $17.50!?!? That is crazy!! After I came down from my shock, I decided it would be perfect and 
now here we are! I just love it!

Supplies-
Frame (any kind, you can paint anything :)
Paint (I used chalk paint)
Paintbrush
Plywood
White paint
Wood glue
Words you want to use
Black Acrylic Paint


Directions-
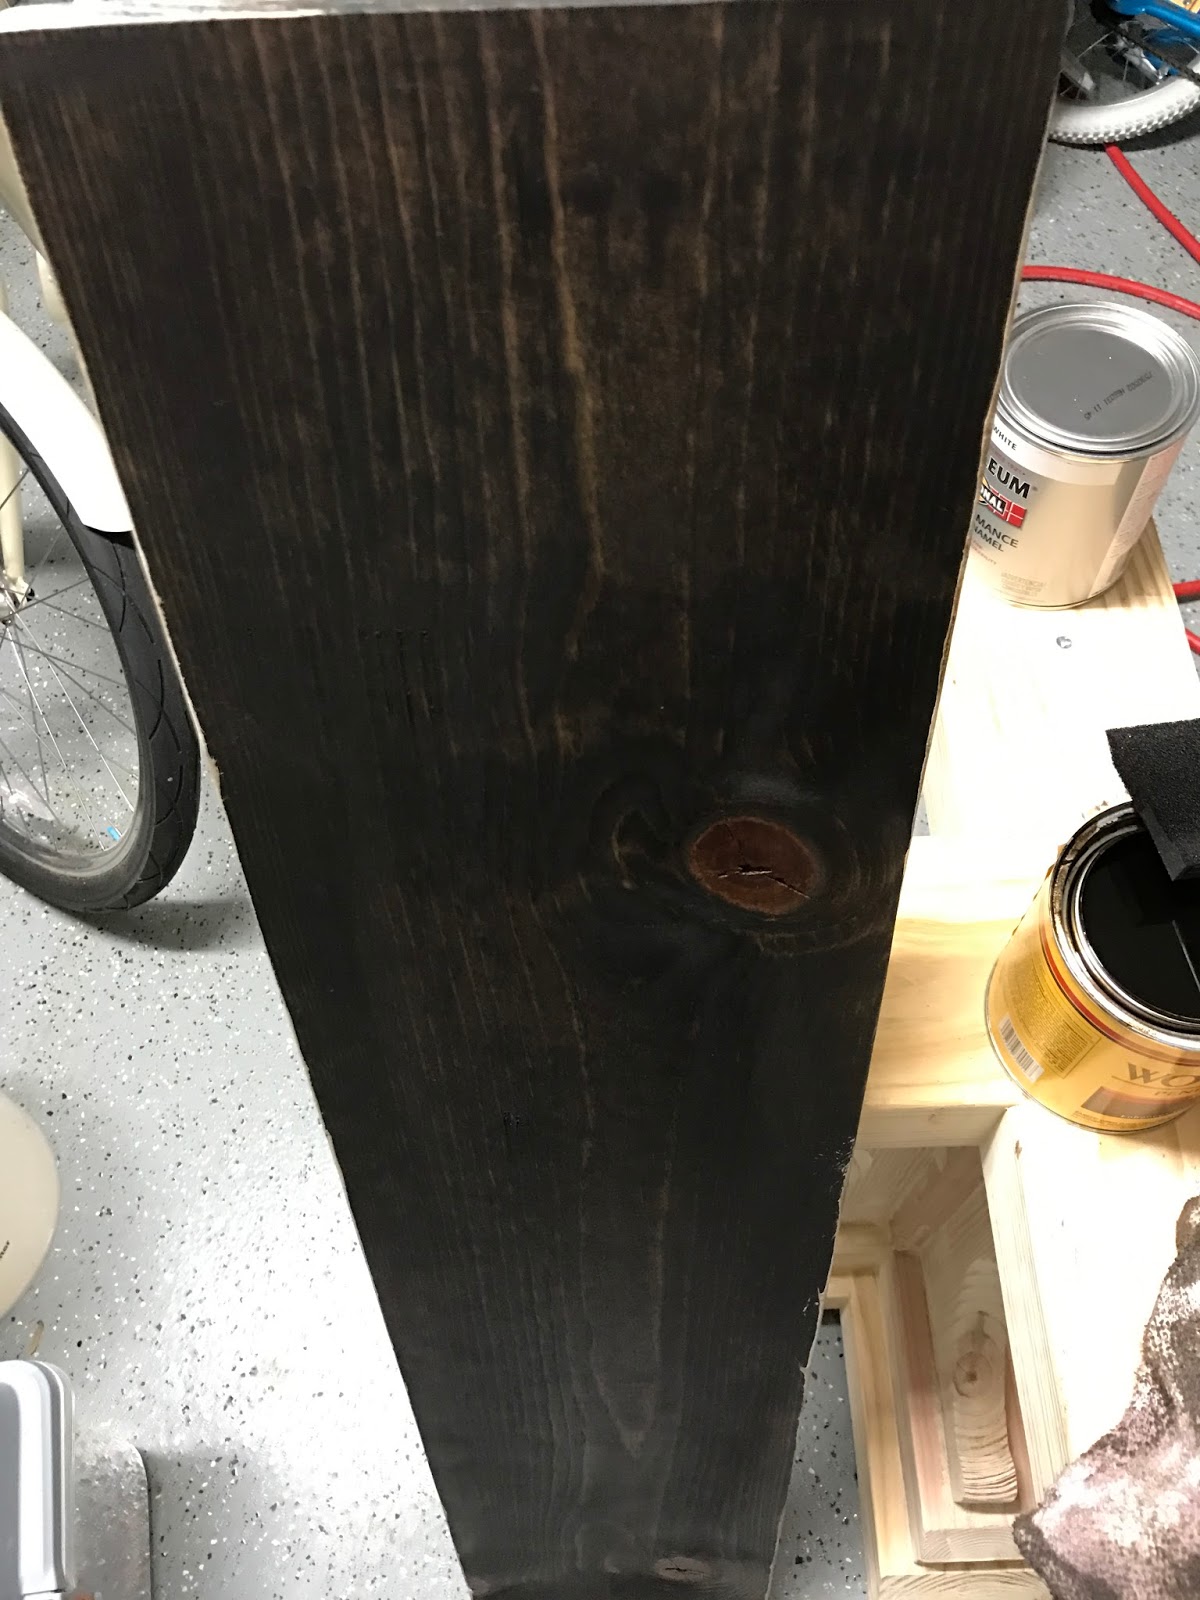
If needed, paint your frame. This chalkpaint was pretty thin and chipped easily so I had to do a few coats. I then took the frame to Lowes with me to figure out what kind of ship lap I needed. I would suggest not painting the frame first if your going to take the frame to Lowes with you....you can only imagine the chips I had when I got home!!

The boards I purchased were "craft boards" and were a little pricey. The cutting saw they have at Lowes was broken otherwise I would of had them cut plywood into strips.

I painted the boards with flat white latex paint, its just what I had left over from other projects

Once they were dry I started with the words. I printed my words out and just cut them down. I placed them where I wanted them, I then  traced the letters with a pencil pressing hard so it left an indention in the wood. Then I just ran my pencil over the indention's so I could see where to paint.


I used regular black acrylic paint and a thin paint brush to "color" in my letters. This is not going to be perfect, nor is it easy but it looks great once your done.

After all that dried I started placing the boards onto the frame. It was tricky trying to space them out but once I got them where I wanted, I lifted one board up at a time and started to glue them down.


The glue HAS to dry over night, I tried to pick it up 45 mins later and my boards all slide down so make sure you let it dry!

I hope this tutorial was helpful! Please follow me on instagram and tag me in your pictures! @thewindinghollow


Friday, February 24, 2017

Walmart Windmill & Wreath


Walmart...oh Walmart...not a favorite place of mine BUT they do have some steals every now and then. This windmill sucked me in!! Another amazing Instagramer posted about changing the windmill up a bit to make it more rustic and I feel in love! It wasn't as big as I had thought but it ended up fitting PERFECTLY on my chalkboard! 
I also made a small wreath to place in the middle of the windmill, this just dresses it up a bit and gives it some character :)

Supplies for Windmill-
Windmill from Walmart $9.95
Copper acrylic paint (hobby lobby but I think they have this at Walmart)
paint brush (see picture)

Supplies for wreath-
small stick wreath (hobby lobby)
greenery (hobby lobby)
string if needed


Directions-
Take your paint and do a stippling motion on the sides of the windmill. I dabbed the extra paint off on a napkin before I started on the windmill that way it wasn't overly copper and obvious. You want this to be random, not too uniform and definitely not perfect!!
I just did one blade at a time, stopping every so often and standing back to make sure I wasn't doing the same thing to each blade.
As it dried I went over it with another clean paint brush just to get any excess off


For the wreath-
Start by cutting your greenery into long strips. I then just stuck an end into the sticks and curved it around then stuck the end in. I did this all the way around..I didn't use any string to hold the greenery on there but it may be easier if you do.


I hope you enjoy this tutorial!! 


Thursday, February 16, 2017

Mason Jar Tutorial


Mason jars are such an inexpensive way to decorate and there is so many things you can do with them! I needed something for a centerpiece on my mantle so I went to Hobby Lobby in hopes of some inspiration. I'm so happy with how these turned out, fits my farmhouse style but could also be used in any home decor style.

Shopping list-
3 large mason jars
off white acrylic paint
thick rope trim (its with the ribbon at hobby lobby)
flowers of your choice ( the flowers I got came in a big bundle, $24.99 but they were 50% off this week)
Any other accent floral (I got some easter looking floral accents, also on sale)
sandpaper
paintbrush


Directions-
1. Paint your mason jars, I did two coats of regular acrylic paint. You could use chalk paint but its more expensive and they are just sitting on my mantle so the paint doesn't need to be durable.
2. Once dry completely, get your sandpaper and rough it up! I just went over the writing and did a few places on the front to give it that worn look.
3.Next I wrapped my trim around the top twice and tied a knot.
4.Then I cut my flowers and Easter accents up and stick them in the way I wanted them
5. ENJOY! :)

I hope your able to make these yourself and enjoy like I am! Please comment below with any questions and don't forget to follow me on Instagram @thewindinghollow 

-XOXO Carolyn

Thursday, February 9, 2017

DIY Bakery Sign


Do this project on a day you have ALOT of patience!! I LOVE the Magnolia inspired bakery signs but of course I always think to myself "Oh, I can do that cheaper..." Well this was no different, it was cheap but not easy!! 

Supplies-
Wood (mine is pine 48X9 1/2 its just what I had you could use any size!)
Stain (I used jacobean)
white paint
BAKERY letters (modern no 20 at a 700 font size)
pencil
Black acrylic paint
small paint brush
sanding block

Directions-
1. stain your wood, I used the dark stain so when I sanded off the white paint it showed the dark underneath. Make sure you let this stain dry...like for a day before you paint.
2. paint over your stain with white paint, let dry..completely!! 
3. cut out your letters completely, I found this way works the best. I did try another way of just tracing the letters and making an indention in the wood but that makes it harder to paint.
4. place your letters onto the wood making sure its all spaced out evenly and centered. I used some painters tape on the back to hold the letters into place.
5. Trace the letters around the edge, then take off the letters and your left with some coloring to do :)
6. using a small, fine paintbrush fill in all the letters black...this is where it gets hard but be patient because it looks fine once your done!
7. let the black paint dry completely then sand all over...even on the letters you just spent so much time painting!! I promise it'll look better once you've roughed it up a bit! 
8.Enjoy your new BAKERY sign! 


Hopefully you have more patience then me with this project :) 
ENJOY!!!

Tuesday, February 7, 2017

Pantry Door Sign


How cute is this pantry door sign?! I've been wanting something to go above our door but hadn't seen anything I loved...until today!! I saw this rustic metal 'PANTRY' sign at Hobby Lobby, it was perfect but small. So I headed down the wood isle to find something to put it on and then it turned into this! I LOVE IT! 

Supplies-
'PANTRY' metal sign (this was 40% off)
Wooden sign (anything you like, this one was 40% off)


Stain (optional, I used jacobean)
Pins (x2)

Directions-
I didn't like the color of the wooden sign I picked up, it wasn't dark enough for my taste so I stained it!
Once it was dry I added the metal sign on and used black push pins to keep secure

 This is so super easy, inexpensive and so cute!
Enjoy!


Monday, February 6, 2017

DIY Magnolia Wreath


I LOVE the Magnolia wreaths that have been circulating the web lately but couldn't justify spending $100 on one! So I set out to my favorite store to see if I could make my own. 

I got lucky the day I went into Hobby Lobby, she had just set out all the magnolia leaves, I grabbed what I needed and headed home to see how it would turn out.

To my surprise, it came out BEAUTIFUL! I was so happy with it I headed back to Hobby Lobby the next day to get more leaves so I could make a few...all the leaves were GONE!! In one day!! So needless to say, go on a Friday about 1pm when they are finished stocking the shelves and make sure you get all you need because they wont be there next time!!


Supplies-
Wood stick wreath
Magnolia leaf bundles (x2 but you wont use them all)
Hot glue gun
String or ribbon

Directions-
Start by pulling the leaves off of the stems, they come off super easy with no cutting required.

Then place the leaves in a circular pattern, I did two circle "rows" and then filled in where I thought looked bare.
I stuck a few leaves with no hot glue to start the pattern then went back and hot glued them in place. This really didn't take long at all!


Once your done tie some ribbon or string and hang!

Enjoy!

Sunday, February 5, 2017

DIY Paper Scroll


How cute is this paper scroll?! I had an empty space in my kitchen and when I saw this DIY from Queen B Home, I knew I had to have it! 
I did alter her original directions by the size. The wall I was putting this on is too small for the size scroll she made.


Here is the shopping list for the length I made:
1/2" Floor Flanges (x2)
1/2" 4" steel nipple (x2)
1/2" 45 degree street elbow (x2)
1/2" 18" pipe connector (x1)
12" Brown paper roll (I found this by the paint supplies)
21"x 4" pine board
1" screws (x10)
Drywall anchor and screws
Stain (I used jacobean)


Link to Queen B Home's blog is below, I followed all the steps just had a shorter rod, paper roll and wood board!
 http://queenbhome.com/the-queenbhome-blog/

I LOVE how this turned out, it's perfect for To Do's, calendar, menu and kind reminders for my little loves to live by 💕

💖XOXO- Carolyn